
My dad showed me a way to fix cracked bathroom caulking without removing it.
Here’s the secret
I Had No Idea This Trick Existed!
Bathroom upkeep can sometimes feel overwhelming—especially when you’re faced with cracked caulking. This issue doesn’t just make your bathroom look worn out; if left unchecked, it can also lead to costly water damage.
Luckily, my dad—who’s a seasoned DIY pro—showed me a quick and practical way to repair cracked bathroom caulking without tearing out the old material. It’s simple, efficient, and saves both time and money, making it ideal for anyone who wants to keep their bathroom in great shape without doing a full renovation.
Understanding Why Caulking Cracks
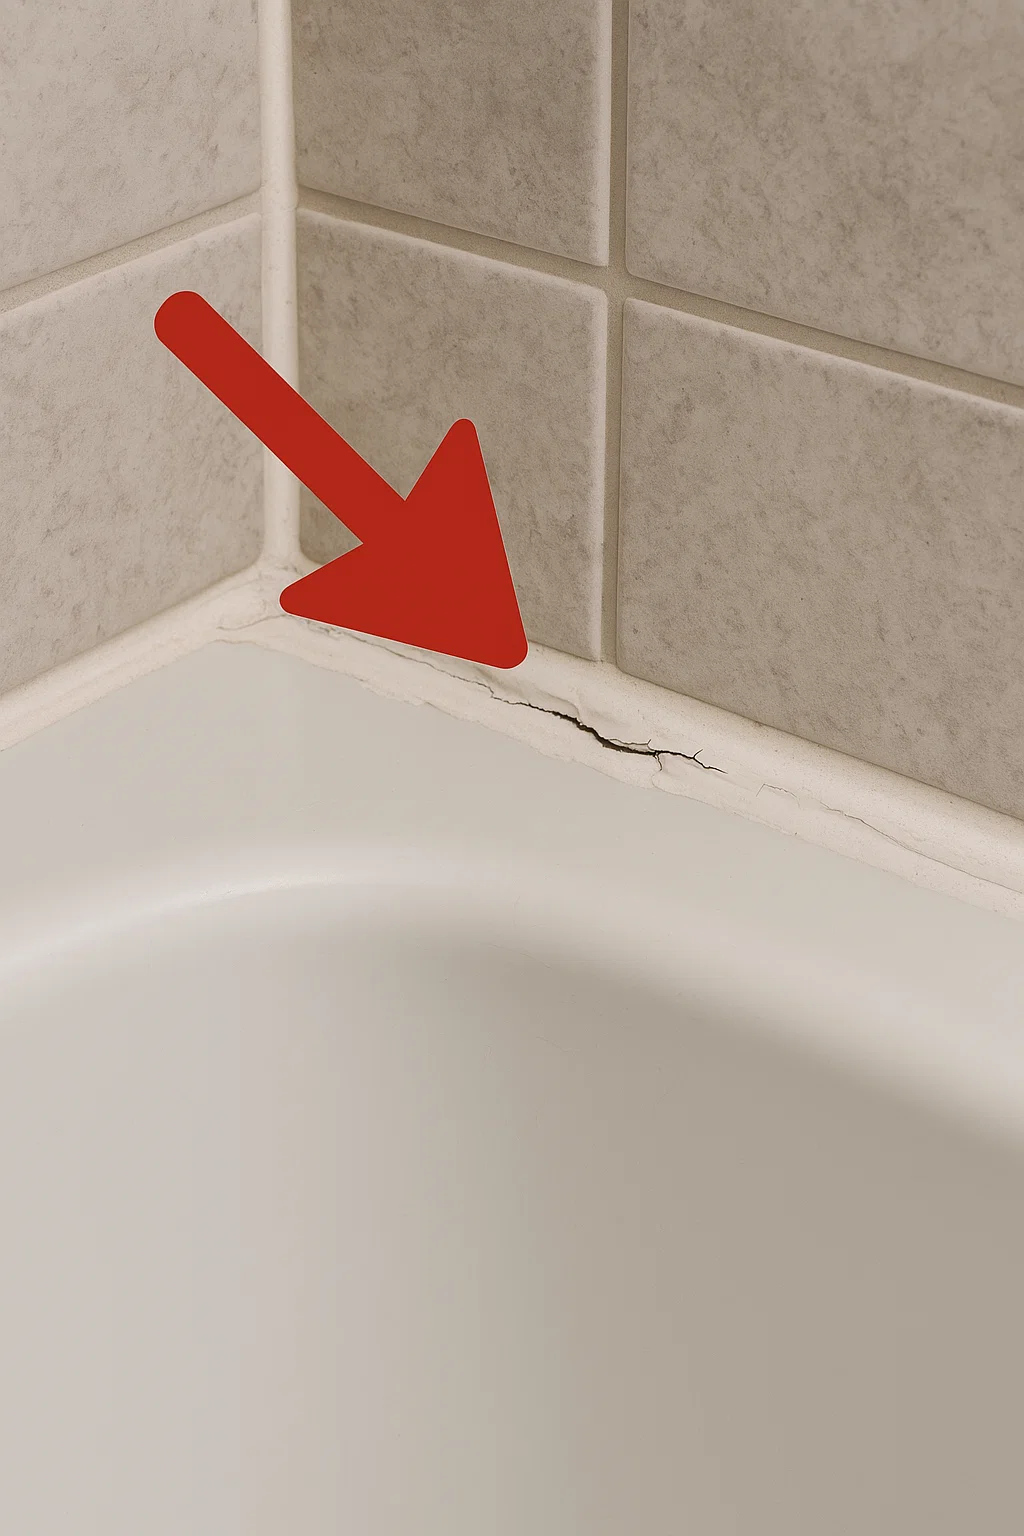
Bathroom caulking is constantly exposed to humidity and temperature changes, which eventually cause it to dry out, lose flexibility, and crack.
These splits aren’t just cosmetic—they can let water seep behind walls or tiles, potentially leading to mold growth and structural problems. Addressing these cracks early helps you avoid bigger issues down the line.
What You’ll Need
To use this method, gather a few simple supplies:
- A tube of silicone caulk (matching your existing color if possible)
- A caulk smoothing tool or plastic spoon
- A utility knife
- Rubbing alcohol and a clean cloth
- Painter’s tape
All of these items are inexpensive and easy to find at most hardware stores.
Step-by-Step: How to Fix Cracked Bathroom Caulking
Clean the area with rubbing alcohol and a cloth to remove any grime, soap scum, or residue. A clean surface ensures the new caulk sticks properly.
Tape the edges around the crack with painter’s tape to create neat lines and prevent overflow.
Apply a thin bead of silicone caulk directly over the crack, making sure it fills in completely.
Smooth the caulk using your tool or the back of a spoon for a clean finish.
Let it cure for at least 24 hours before using the shower or exposing it to water.
Why This Method Works So Well
This approach is smart because it reinforces the existing caulk instead of removing it all. By adding a new layer of flexible silicone caulk, you seal out moisture and restore a waterproof barrier. Silicone is resistant to both temperature shifts and humidity, making it perfect for bathrooms.
The result: a clean, watertight finish without hours of scraping and recaulking.
Extra Pointers for Best Results
Make sure the room is well-ventilated during and after application to help the caulk set properly.
Choose high-quality silicone caulk for durability.
If the old caulk is extremely damaged or moldy, it’s better to remove it completely first.
Always follow the instructions on the caulk packaging for curing times and application tips.
Final Thoughts
Repairing cracked caulking doesn’t need to be a complicated or exhausting job. Thanks to my dad’s simple trick, you can refresh your bathroom’s look and protect it from moisture damage with minimal effort.
This practical method is budget-friendly, quick to do, and keeps your bathroom looking clean, safe, and well-maintained for years to come.