Close Menu
Lindi
  • Home
  • News
  • Moral Story
  • Jokes
  • Life Hacks
  • Health and Fitness
  • Gardening
  • Recipes
  • Quiz
Facebook X (Twitter) Instagram
Lindi
Subscribe
  • Home
  • News
  • Moral Story
  • Jokes
  • Life Hacks
  • Health and Fitness
  • Gardening
  • Recipes
  • Quiz

    There is 1 difference in this picture. Can you find it?

    2025-05-09

    Where is the squirrel? The letter carrier needs to give him his mail.

    2025-05-09

    Can You Spot the Butterfly, Canoe, Fish, and Teacups?

    2025-05-09

    A WHOLE DAY searching and ZERO traces of the book OR toothbrush?!

    2025-05-09

    If you find more than 15 differences, you are a genius

    2025-05-09
Lindi
Home»Life Hacks»Don’t Rush to Toss Those Shoes! A Cobbler Reveals a Smart Trick to Repair a Damaged Sole at Home…
Life Hacks

Don’t Rush to Toss Those Shoes! A Cobbler Reveals a Smart Trick to Repair a Damaged Sole at Home…

Tech ZoneBy Tech Zone2025-02-212 Mins Read
Share
Facebook Pinterest Reddit Telegram Copy Link

Many people encounter the frustrating problem of cracked or detached soles, which leads them to either invest in costly repairs or discard their beloved footwear.

However, there’s no need to rush to the cobbler or buy a new pair—there’s a simple DIY solution that can save you money and extend the life of your shoes.
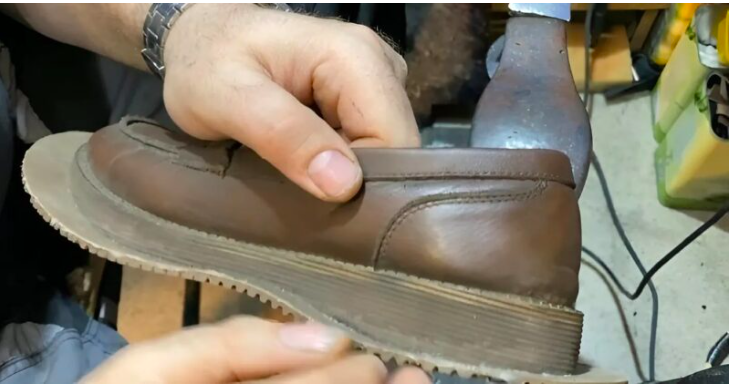
Step 1: Apply the Adhesive

Start by applying the adhesive to the damaged area of the sole, stopping about 5 mm from the upper edge. Firmly press the cracked section together to ensure a solid bond.
The glue sets quickly, so hold it in place for a few minutes before letting the shoes sit undisturbed for about 30-40 minutes to allow the adhesive to cure fully.
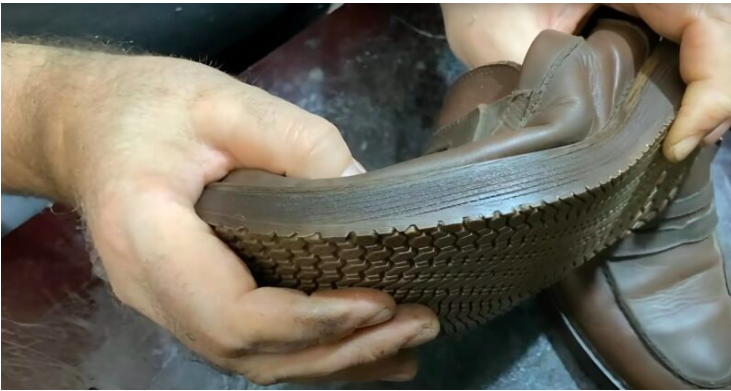
Step 2: Prepare the Sole for Reinforcement

Once the adhesive has dried, use sandpaper to smooth the sole’s surface. This step is crucial for achieving better adhesion when you attach the reinforcement pad.
Lightly sand both the sole and the pad to create a rough texture, enhancing the bond between the materials.

Step 3: Attach the Reinforcement Pad

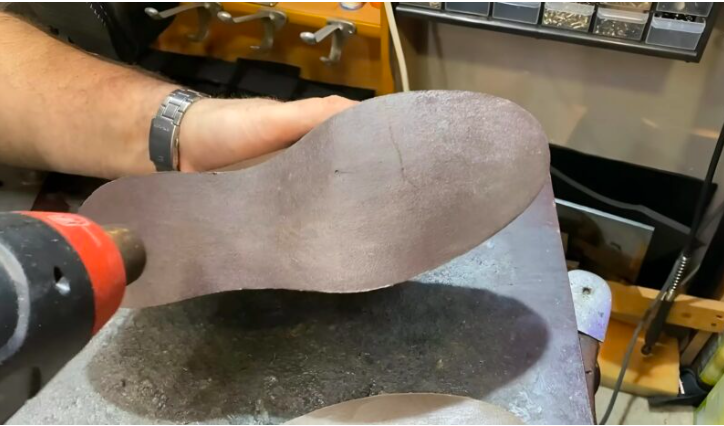
Apply a thin layer of adhesive on both the sole and the reinforcement pad. Allow the glue to set for around 40 minutes, then add a second coat and wait an additional 20 minutes.
For optimal adhesion, apply heat—ideally around 50-60°C—to activate the adhesive. A heat gun or high-powered hairdryer can be effective for this step.
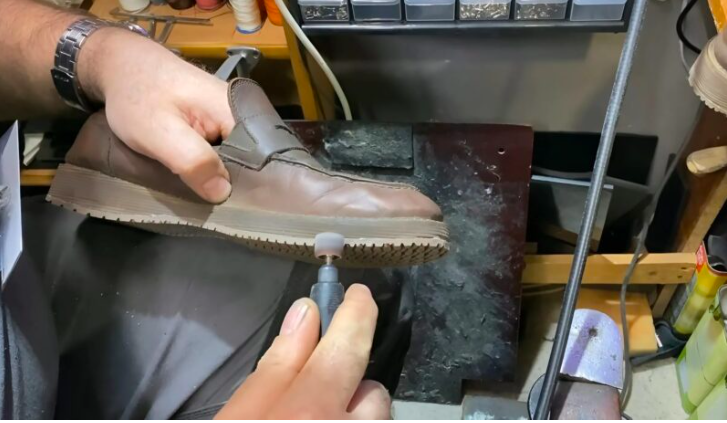
Step 4: Final Touches

After securing the pad to the sole, let the shoes rest for at least 4 hours to ensure the bond sets properly. Once fully dry, trim any excess material from the reinforcement pad and sand down the edges for a clean, professional nish.

The Outcome? Shoes That Feel Like New and Last for Years!

By following this simple repair method, your shoes can remain in great shape for many more years, saving you money and reducing waste. Instead of tossing out perfectly good footwear, try this easy x and give your shoes a new lease on life!

#hometips #lifehacks lifehacks
Share. Facebook Pinterest Reddit Telegram Copy Link

Related Post

Engineered to Be Beautifully Inconvenient: The Story Behind the Circular Bridge That Calms Traffic

If you hear ringing in your ear, this is a sign that…

What does the half moon at the base of the nails mean?

Did you know that if these arrive at your house it is…

A Natural Miracle for Brain Health, Inflammation, and Joint Pain

You’ve Probably Made This Mistake with Your Air Fryer—And It Could Be Dangerous…

12 Best Foods To Support Digestive and Gut Health…

Bone can.cer: early signs you shouldn’t ignore…

What happens if you eat the black vein in a shrimp’s tail?

I BOUGHT MYSELF A BIRTHDAY CAKE—BUT NO ONE CAME

2025-05-10

I Woke Up To Find My Flag Gone—And A $20 Bill On My Doorstep

2025-05-10

Dr. Jones?! Is that you?” — After 38 Years, Short Round Finds His Hero Again…

2025-05-09

There is 1 difference in this picture. Can you find it?

2025-05-09

Where is the squirrel? The letter carrier needs to give him his mail.

2025-05-09
Copyright © 2024. Designed by Lindi.
  • Home
  • Privacy Policy
  • Disclaimer

Type above and press Enter to search. Press Esc to cancel.